Sunday, March 18, 2012

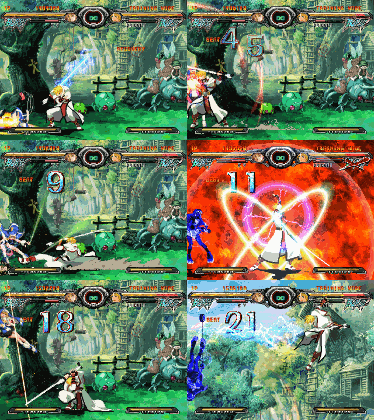
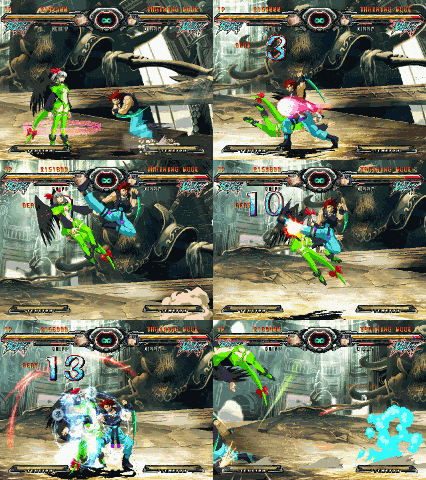
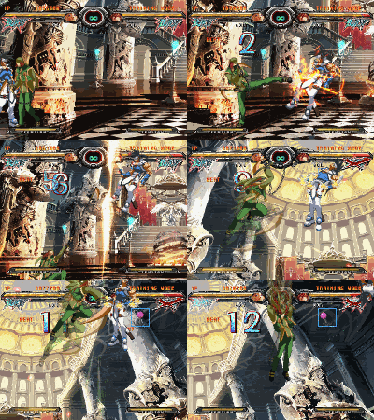
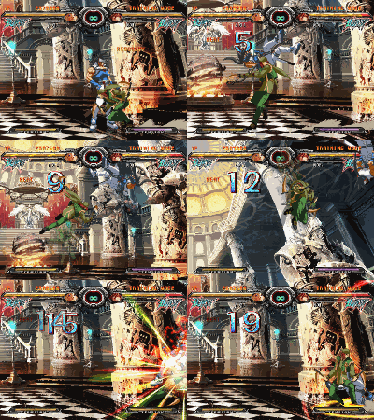
GGXXΛ+: Axl Low general combo

http://i247.photobucket.com/albums/gg141/Skiegh/AxlThrowBnB-1.gif
http://i247.photobucket.com/albums/gg141/Skiegh/AxlFRCBnB-1.gif

Axl Low, the strangely British time traveler! He's primarily, from what I could gather, a hardcore zoning character as he can cover most of the screen with some of his basic attacks. 

Both of these combos cover about the same basics so I decided to stick them together, much in the same way that I did them at the same time. While attempting them, whenever the opponent hit the corner, I'd try the throw combo and whenever not, I'd do the regular one. Eventually, I got em both down but it was far more difficult than it needed to be because I randomly have fits of not being able to do motions for some reason. It's a mental thing I think.

The bottom combo starts with what I have gathered as Axl's standard starter, c.K, c.D, Rensen Geki. His Rensen Geki is a charge move and carries a few variations depending on whether you hit up or down afterwards but in this example, I simply FRC'd it. After that it's just a simple run up into f.p and after that into a nice series of slow, double hit chain attacks, the second of which is jump cancelable. 

Jump, follow up and the rest more or less explains itself. Abuse the crap out of his force break Axl Bomber which launches both myself and the opponent upwards while also letting you continue on after it, it's really quite lovely. Depending on the combo you're watching, I end with either the normal Axl Bomber (Along with another Rensen Geki with the down variation I was talking about.) or Axl's giant 360 slash Kokuu Geki.

Starting slow and simple with Axl since I screwed up Ky so bad. That and I haven't had much free time.


Monday, March 5, 2012

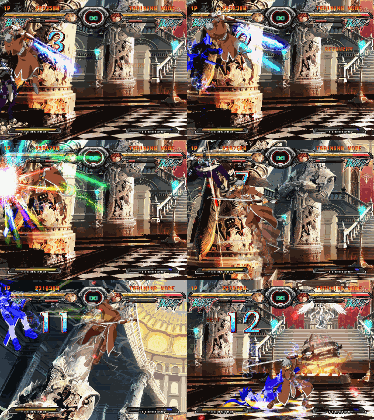
GGXXΛ+: Ky Kiske; I failed to do a combo

http://i247.photobucket.com/albums/gg141/Skiegh/KYfailedcombo2.gif

This my friends is me failing to come up with a combo or at least successfully completing it. Typically when I do a combo for a character, I make it a fact to learn the character first but for some odd reason, I refused to do that for Ky and the result is as shown; failure. This combo went through at least 50 variations before I just said "screw it!"

That aside however, there is some stuff in here I can at least describe even if the combo itself is worthless and impractical. (Not that I don't mind showing impractical combos every now and again.)

I start off with a Charged Stun Edge mainly to get a higher hit count but also because it's an amazing ability for wake-up pressure so this starter could feasibly happen. Afterwards, I run up for a simple gatling which soul purpose is to put me at the maximum distance from my opponent so I can use Stun Dipper, which will only land both hits at maximum range. (The sliding kick must hit near the end of it's slide.)

After that I RC into a tightly linked f.HS, which, on airborne opponents, produces a wall bounce effect, allowing me (if I did this mid-screen) to run up a ways before using my super Sacred Edge. After that it's just a typical Ky launch combo into a failed finisher and the end of m creativity apparently. 

This combo makes me sad.

Friday, February 24, 2012

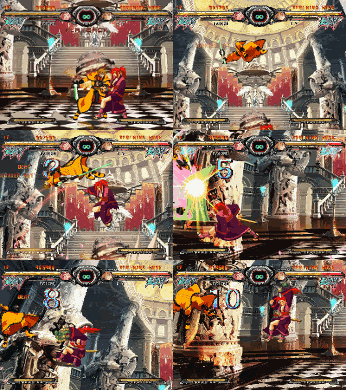
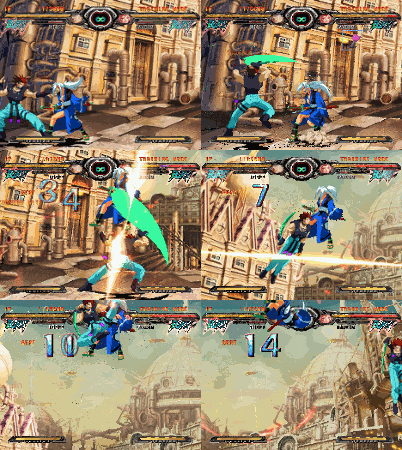
GGXXΛ+: Ky Kiske Greed Sever Loop

http://i247.photobucket.com/albums/gg141/Skiegh/KYLoops2.gif

Ky Kiske or as I think of him; the Ryu of this game. He's easy to learn and contains some very shoto elements. (good uppercut/fireballs/zoning)

So I heard you like loops? Well, good, because that's what this combo is all about! Granted, it's not very damaging but I'm sure that's my own ineptitude than anything else, I'm sure there's more beneficial ways of doing it. Regardless, Greed Sever is a nice little ability, that while slow, grants a free combo opportunity on hit. Essentially a powerful overhead ability -- I like it.

This combo revolves pretty heavily around the fact that a lot of Ky's attacks induce a lightning shock (The inability to tech), allowing him a lot of time to combo into other things. His s.HS is great for this since it's pretty fast but induces quite a lot of said stun. After a point however, the stun becomes less effective and you're forced into mixing up the move from more Greed Severs to a super jump cancel into K, S, Vapor Thrust. (Ky's shoryuken) Of course, in this version of the game, Vapor Thrust can be followed up by Rising Javelin, a nice little zap of lightning which bounces the opponent against the wall and can be FRCed. That said, this combo could have been longer but just look at that damage scaling, it's not worth the meter.

Also to note, at the end I used one of Ky's useful yet useless ability, Lightning Strike, which can only be used against downed enemies. It's decent damage and a nice finisher I suppose but that's about it.

Thursday, February 16, 2012

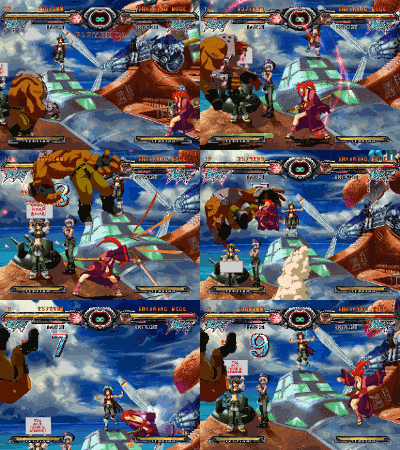
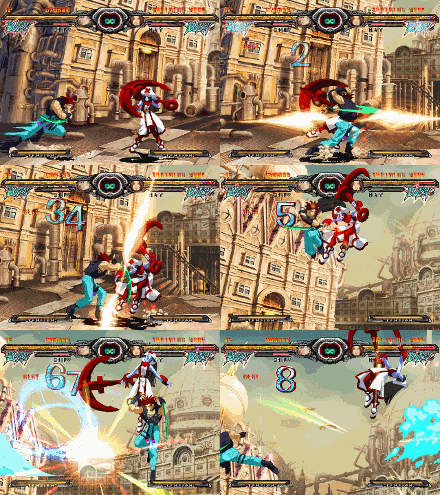
GGXXΛ+: Baiken Youshijin Counter Combo

http://i247.photobucket.com/albums/gg141/Skiegh/BaikenBlockCounterBnB.gif

A decent showcasing of Baiken's primary style of play which is offensive defensive, primarily due to a good 4 of her abilities only being able to be used while guarding. Personally, I love that style as it is generally how I play most games, why I hate SF4 so much (because it's impossible) and why I love SF3 and it's parry system. 

I start this combo with Youshijin, one of her abilities which can only be used while guarding and as you might expect, it's easy to get counter-hits when you cancel your block stun. As such, my opponent can't tech his landing, allowing me to land f.HS into a Tatami FRC. From there, it's all just the typical Baiken BnB affair. I do show how Baiken can use a nice FRC, (Air) Tatami follow-up to perform her usual BnB length even at mid-screen.

Wednesday, February 8, 2012

GGXXΛ+: Baiken Counter-hit Combo

http://i247.photobucket.com/albums/gg141/Skiegh/BaikenCounterhitCombo.gif

A counter-hit combo for Baiken; the one-eyed, one-armed, female Kenshin, though apparently inspired by Tange Sazen.

The reason for the counter-hit is more for showing off more of her abilities in one combo rather than it being necessary for this combo. Counter hits involving her aerial Tatami Gaeshi (It's essentially just a flipped floor mat -- you know, those Japanese style floor planks.) results in the opponent wall bouncing from any distance and not being able to recover. The regular version however can be recovered after a short while and will only knock them into the wall if they're quite close to it.

The inability to tech allows me to link into Baiken's Kabari, a chain with a claw at the end of it which pulls opponents closer to you, while also allowing you to perform her Tetsuzansen which are those two vertical slashes.

Other than that however, this combo more or less showcases almost the entire content of Baiken's BnB, which is generally just j.p/j.s into j.d. Her j.d is very nice as it takes away the player's ability to tech the fall which is great for setups. You'll also notice that the move is able to be FRCed which is something you can do to extend the damage of it, specifically mid-screen where you can't follow up with the dash into j.s, j.d.

Overall, I quite like Baiken. She makes me debate my choice in main character as I do love her offensive defensive style. A lot of her abilities can only be performed while blocking and she even has a command dash that blocks. (I'll attempt to show those off somehow in a GIF) I love that form of play so I may consider making her my main. God knows parrying is all I'm good at in games.

Wednesday, February 1, 2012

GGXXΛ+: Chipp Kick Plummet Combo.

http://i247.photobucket.com/albums/gg141/Skiegh/ChippKickCrashCombo.gif

Bizarre little Chipp combo that I came up with after experimenting a bit with Chipp's rather unique aerial kick. It's uniqueness (and awesomeness) comes from the fact that it's two hits, the first being a standard hit that generally raises an opponent slightly while the second being one that provides a hard knockdown, thus lowering the opponent. You can tell just from the description that this sort of has infinite potential where you simply raise a player up and down indefinitely, resetting your jumps easily upon hitting the floor and I believe it does but it's rather tricky and not worth much in terms of damage.

The hard knockdown from the second hit is just strong enough so that if the opponent is close enough to the floor, they will slam into it and not have time to recover and as such crash into the floor without the ability to tech the landing, allowing me to connect Gamma Blade; the rather amazing zoning technique that Chipp has that locks an opponent in place for a moment.

Thursday, January 26, 2012

GGXXΛ+: Chipp Launch BnB

http://i247.photobucket.com/albums/gg141/Skiegh/ChippBnB30f.gif

This is what I have come to think of as my BnB when using Chipp. Though it requires 25% tension, it does decent damage and isn't the most difficult thing to do. That and this combo can easily be altered to a 0% tension version which contains more hits but a little less damage ironically. (I may show a GIF of it as well.)

Let's see... what does this combo introduce as far as game mechanics go? To start, it introduces jump installing which, if I recall, was originally a glitch in the previous Guilty Gears but has since then become an actual part of the game. Jump installing is essentially inputting a jump during any move that is jump-cancellable (In this case, Chipp's slashes on the ground) but rather than jump, you input another attack but the jump remains registered; installed if you will. So when I teleport up to continue my combo, I am now able to jump even though I normally wouldn't be able to. Which is why I am able to use Alpha Blade a second time after my False Roman Cancel.

Segway! Now onto False Roman Cancels (FRC), which are somewhat of a spin-off of normal Roman Cancels. The difference being that, for one, they only cost 25% tension instead of 50%, they can be performed without connecting with your opponent which makes them useful for saving yourself from whiff openings and lastly, they can only be input during specific frames of special moves. In Alpha Blade's case, it's the moment you launch forward. (Telling the difference between a RC and a FRC is easy because FRC's show a blue flash rather than a red.

Anything else? Ah, right, uh... Guilty Gear is a bit odd in terms of crossup input. In most games when you crossup someone (go over them), you need to adjust your inputs where forward is towards that person. So if I wanted to do a super for instance, I could potentially do a quarter circle forward and then a quarter circle back once I crossed over someone and it would qualify as doing two quarter circle forwards. However, in Guilty Gear, forward is the direction your character is facing and the only way to turn around in the air is to jump/air dash. This is why jump installing is necessary because I need to turn around in mid air when I cross up the opponent and jumping is the only way to allow me to Alpha Blade in that direction.

*Side Note*
May is absolutely adorable. (The character I was beating on, though it's not the best color that I picked for her.)

Wednesday, January 18, 2012

GGXXΛ+: Chipp Counter-hit Combo

http://i247.photobucket.com/albums/gg141/Skiegh/CounterhitCombo2.gif

And so we move onto Guilty Gear X2 Accent Core Plus (What a f'n title!). I'm very new to this game but I can already understand why it's such a popular fighter, it has a lot of depth. It also has a lot of game mechanics for me to tinker with, which I am always a fan of. Though it's almost the point of being too much but this is the billionth version of the game so that's to be expected.

It took me awhile to pick a character but in the end I picked Chipp, who I believe is the fastest character in the game which is always a plus for me. 

The combo specifically is pretty simplistic. Though I say it's a counter-hit combo, that really only applies to the extra forward high-slash I do at the beginning. Far as I can tell, Chipp's forward HS is easily his best damage so adding more of it into combos is always a goal. This combo specifically does a crap ton of damage but considering the slowish speed of his F+HS, it's to be expected. Along with that, this combo also requires 50% tension because it contains a roman cancel. Mentioning that is my cue to explain it...

Roman cancels require 50% tension and are used to cancel the rest of your attacks animation and as you can imagine, it creates for a lot of combo opportunities as well as allowing you remedy a risky attack by yourself.

Far as the tension gauge goes, it's actually quite nice, I like it a lot. Most fighters have a meter but I specifically like GG's. It increases by hitting and getting hit as per usual but it mainly increases by dashing towards your opponent and being close to him/her -- essentially being in combat increases it, which I like a lot. This game seems to frown upon turtling, in-fact, staying out of combat lowers your tension to 0 and reduces the increase of it for several seconds.

I haven't been playing it too much, so I don't expect to get any good at it really but I may at some point try and get into it more thoroughly. I will say, playing it has helped my input a decent amount since it's a pretty input intensive game.

Saturday, January 7, 2012

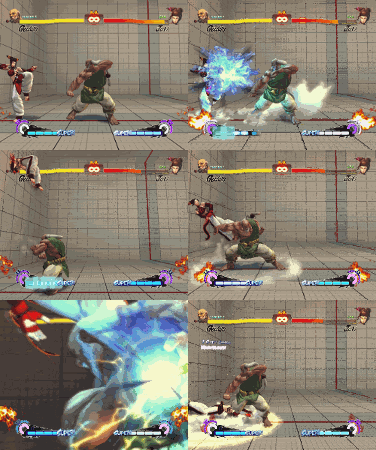
SF4AE Gouken: Corner Combo

http://i247.photobucket.com/albums/gg141/Skiegh/SF4GoukenCornerCombo.gif

A rather beefy but long-winded corner combo for Gouken. It's damage isn't particularly great if you consider all of the meter you're using but it's worth doing and I believe it generates close to 700 stun, which is a lot since most characters only have 900. 
 
I don't find any of Gouken's combos to be very difficult to do and as such, I don't have much to say about this combo. Besides the focus cancel and maybe the very useful MP to cHP link that Gouken has, there isn't much to say; it speaks for itself.

This isn't what I was planning on my next GIF being but I've been having trouble recording video of the game I wanted to show footage of so until then, I may dabble into SF4 despite my hatred of it. On that subject though, I have been playing SF4 simply because my brother does and he's actually liked it enough to go out and buy a stick, despite the fact he said he never wanted to play fighting games at that "super high, frame data crap level -- I don't want to practice days and days just to play a game." Yet here we are, and he is doing it, though he is currently under the massive frustration that I dub "The Transition!"

Learning a stick is not easy, it took me 6 months before I was better on a stick than a pad and even now, I have fundamental problems with a stick. For him, it should be easier since he's hasn't exactly perfected anything about fighting games prior to switching to a stick like I had. Still, he's easily annoyed by the fact he can't do anything in an actual match now despite being able to do it in practice. He's convinced it's lag that somehow only sprung up due to his switch to a stick but I'm quite aware it's just him not being used to the stick yet. Doing something in a match is 100x harder than in practice and even more so, adjusting to even the slightest bit of lag is near impossible on a input device you're not used to. 

So yeah, I've been playing SF4 a decent amount and it's sadly gotten better than it used to be but only because I've adjusted to all of the stupid things the game has to offer. Which is how I feel most SF4 players are, which is sort of sad. Gouken is sort of the saving grace to this game for me, with his ability to parry attacks, he is the closest thing I can come to to a parry system.


Tuesday, December 27, 2011

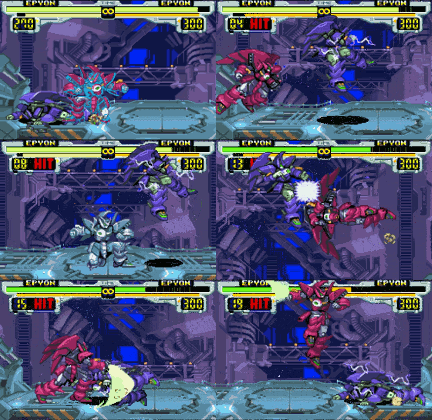
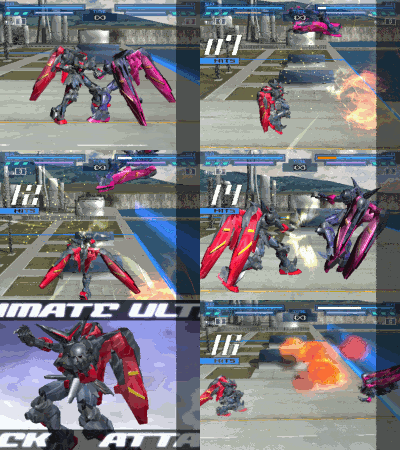
GWED Epyon Gundam: Backattack Combo

http://i247.photobucket.com/albums/gg141/Skiegh/DuelEpyonCombo.gif

A spiffy looking combo which can be done as Epyon Gundam; the overpowered hidden character which can only be played after inputting a series of directions at the character select screen. 

This combo requires a back attack which I achieve by utilizing Epyon's command jump while my opponent is down. The timing on it is really tight -- in-fact, that was the most difficult part of this GIF. It took me about 40 tries to get over my opponent so they would face to the right side and I would be able to attack them before they turned around. 

As for the combo itself, it's pretty straight-forward. It's really just a series of attacks into Epyon's command jump. One interesting thing to note about Epyon however is that he doesn't really follow the normal rule that you can't cancel a heavy attack into a light attack, which is the norm in most games and every other gundam. You'll notice however, whenever I am near my opponent in this combo I am wailing on them back and forth with my whip and sword without any delay whatsoever. Typically, you can only revert to light attacks after a heavy attack via links but Epyon as the boss of the game says fuck that and as such, he is easy to use and immensely good.

Only other thing of note (which I'm really the only who probably cares but I found it interesting) is that at the end of the whole ground hopping fiasco, I actually do land on the ground after I crossup my opponent. I was watching someone do this combo before I did it and I was staring at the video like "How is he turning around in mid-air?" Turns out, he was actually just hitting the ground and just jumping and attacking so fast that the game actually doesn't even show you hitting the ground. Which is uh... pretty weird, just goes to show that there is 0 frames involved when it comes to jumping in this game.

-----

Unrelated to this GIF, I am still working on practicing the new game I plan to show GIFs of. I don't think I'm wrong when I say it's one of the more input-heavy fighters out there but I am certainly grateful for it. It has cleaned up my input immensely!

I'm probably gonna have to show more Gundam GIFs for now because I am no where near ready to transition to my next game. Hell, I'm only JUST barely getting decent with one character and I know next to nothing of the others. It's a popular fighter as well so I don't want to end up posting stuff about the game that is just blatantly obvious. I have to say though... I do love the game so far.

Thursday, December 22, 2011

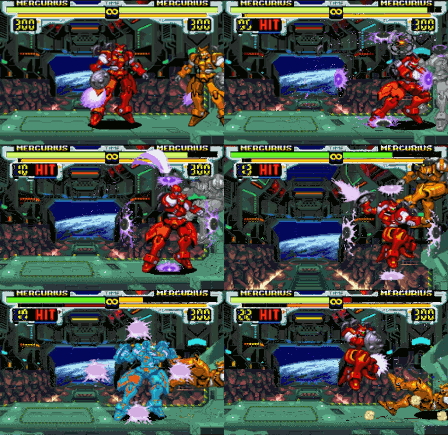
GWED Mercurius Gundam: Overpowered Shield

http://i247.photobucket.com/albums/gg141/Skiegh/DuelMercShield2.gif

A little showcasing of just how ridiculous Mercurius's shield can be when activated. It has a long start-up and is easily cancelled but if you manage to get it off, it offers you complete immunity to attacks with the only exceptions being throws. Sure it drains your meter slowly but considering how fast you gain meter in this game and how evasive you could be to avoid throws, it is just plain ridiculous.

Wednesday, December 14, 2011

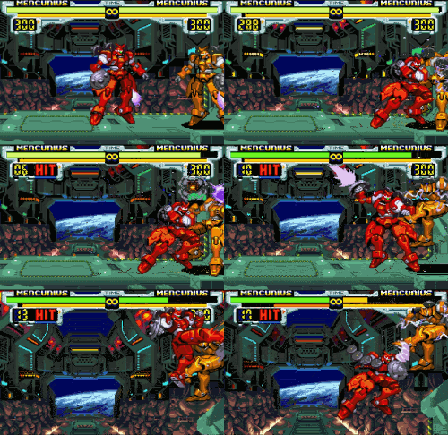
GWED Mercurius Gundam: Random Combo

http://i247.photobucket.com/albums/gg141/Skiegh/DuelMercCombo.gif

This GIF had a lot of issues but first let's start with the combo itself. 
This combo was fairly whimsical of me, I started originally doing the 100% combo which requires a bit of a strict timing but is unimpressive looking. Going from that, I devolved it (or evolved maybe) it into this random strings of attacks. I did this combo several times as I wasn't sure how I wanted it to end or anything of the sort. Mercurius Gundam left me a lot of options in that regard but overall I'm satisfied with it. 

Also yes, that initial dash in attack to the energy swing is an infinite, you can repeat that starting loop over and over again but like most things in this game, it's a tight timing. 

-----------

Now onto why this GIF was a pain in the ass. Typically, when I convert my video into a GIF, I also convert it to 30 frames per second which is typically fine since most 2d fighters have the same animation for 2 frames at least. However, silly Mercurius gundam here has a unique little effect with her energy shields -- they are invisible every other frame! So when I converted it to 30 frames per second -- well, it looked like this...

http://i247.photobucket.com/albums/gg141/Skiegh/DuelMerTASCombo2.gif

Funny thing that; something that's invisible every other frame is gone completely from a GIF which removed every other frame. This was irritating as it made a lot of the attacks just look... weird and considering Mercurius Gundam already has a pretty bizarre moveset (quite unique), she doesn't need any help when it comes to confusion. 

My solution was to halve the speed of the emulation so it would record each frame more than once which solved it more or less, though it took a few tries for some reason. If the frame I started from was had the shields invisible, there would be way more frames where they were gone than present. Along with that, photobucket also refused to upload this for awhile until I shortened it's number of frames.

-----

Time to make a few more set of GIFs I think, as I finally used all of the ones I had premade. I'll probably stick with Gundam Wing Endless Duel for a little while longer -- at least until I'm knowledgable enough in the next game to which I am already practicing. (Hint, hint, it's a pretty well-known fighter and gets compared to Melty Blood quite often or should I say Melty Blood gets referred to it?)

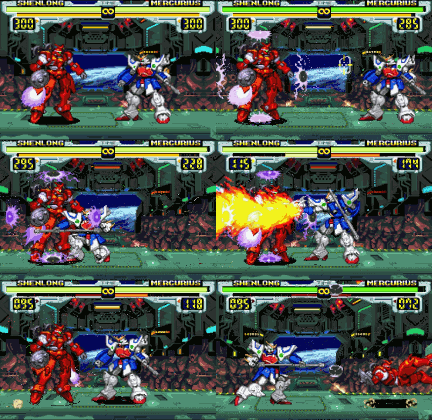
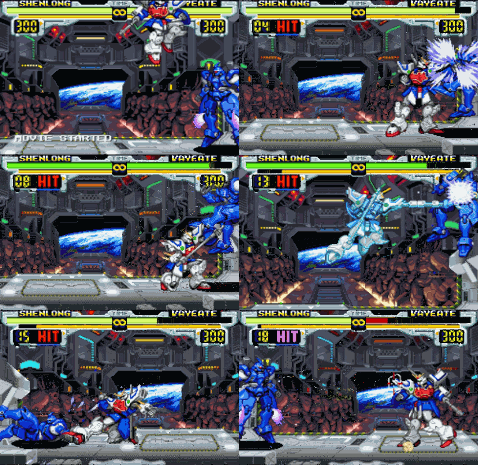
GWED Shenlong Gundam: Jumpaway combo

http://i247.photobucket.com/albums/gg141/Skiegh/DuelVoltronJumpawaypunish.gif

This is a weird combo that can only be done if you hit your opponent with a heavy kick the very second he jumps away. That being said, it's not something that will ever come up really. I will say that you can include a 3rd repetition of that punch -> spear bit but it's timing is bizarre and I could never get it, I think it's better to do the consistent version which is this. Important thing to note is you do need to attack the moment you leave the ground to link that attack together into Shenlong's amazingly satisfying dragon throw.

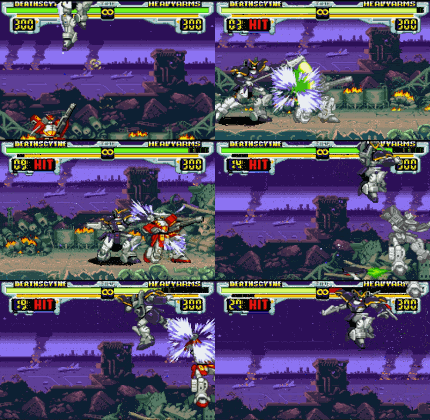
GWED Deathscythe Gundam: Backattack combo.

http://i247.photobucket.com/albums/gg141/Skiegh/DuelDeathScytheTACombo.gif

This is such a snazzy looking combo, I adore it. However, behind each great looking combo in this game are millions of little things that make doing it so extraordinarily difficult. Before I delve into that, I should also state that this combo (I believe) can only be done on a back attack and a crouching opponent. (More hitstun but I may be talking out of my ass, I never tried doing this on a normally standing opponent.)

Now I mentioned in the last GIF how I would be using a slower emulation speed to perform these combos and now let me explain why that is. Now what may look like a seamless combo from attack to another is actually a series of small one frame stops in order to connect each attack together. The first part of this begins when I use Drill Shield for the second time. (My favorite special in the game, teleports you upon hit if you use the heavy version of it.) This timing actually isn't all that bad and in-fact, I would say this entire combo could be done consistently if you practice enough but I'm too lazy to practice a combo for a game I'm only passing through. 
 
Anyways, as I was saying, the second drill shield needs to be delayed a couple frames, canceling into it right away results in it only hitting twice which is not enough for your to boost upwards in time, cancel too late and the gundam either regains himself and can block it or hits the ground. 

Now after that shield is thrown we must boost the moment we teleport but we also need to make sure not to attack right away! We need to glide to the right for a moment and wait until the last possible moment, utilizing all of our previous attack's hitstun before attacking. Once in that distance, we slash and the moment we hit the ground we cancel into that light shield swing but before we cancel into that scythe swing, we must wait exactly 1 frame. Canceling into it right away results in the swing whiffing and too late and the hitstun is worn off. The reason we need to wait 1 frame is so the opponent's gundam falls just 1 pixel more so it can hit. 

After landing that we instantly boost, wait just a moment as before -- being sure to glide a tiny bit closer and utilize the hitstun of our previous attack before attacking with a heavy kick. Depending on your distance, you can either cancel into your special spinning scythe or your super which is more or less the same thing with more range. In my case, I used the super. 

All in all though, though I used an emulator to perform this, this combo for the most part is quite doable at a normal speed. The only real tricky part is after the second shield is thrown.

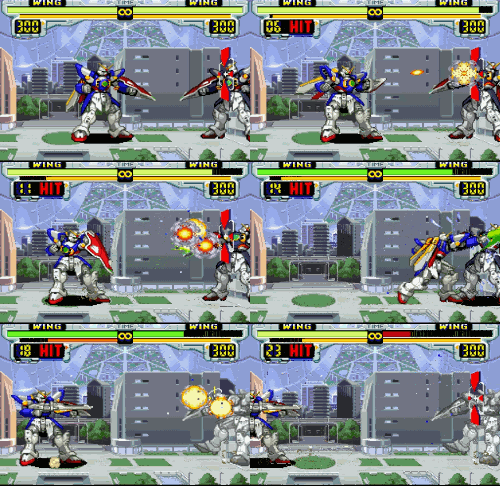
GWED Wing Gundam: Vulcan BnB

http://i247.photobucket.com/albums/gg141/Skiegh/DuelWingGundamVulcanBnB.gif

Wing Gundam's vulcan BnB. Should you start a combo with a vulcan and are close enough, you can dash in to continue the combo after using your buster rifle. 

Vulcans in this game can only be used at a certain range which becomes apparent when you see the target over the opponent. The weak version of the vulcan (3 shots) can be canceled into the heavy shot version (5 hits) for more hits before you dash in. It's very important for this combo that you use your buster rifle just before you fire the 8th vulcan otherwise the hitstun will be out of whack and your buster rifle won't hit. 

As with most combos in this game, this one can be longer and more powerful but also becomes equally more difficult. There seems to be a lot of inhuman combos (Combos that are not humanly possible to replicate consistently.) which is why for a lot of the following GIFs, I actually do the combo at 1/4th emulation speed.

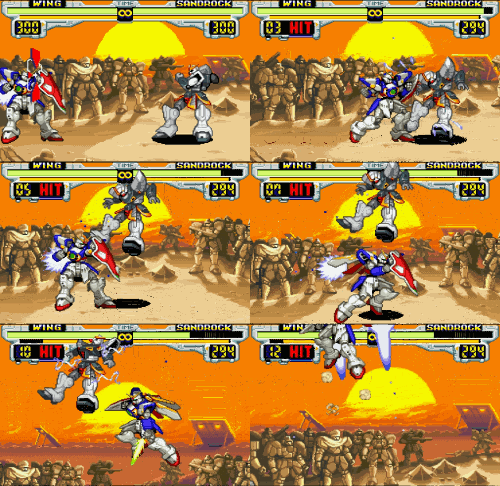
GWED Wing Gundam: Standard BnB

http://i247.photobucket.com/albums/gg141/Skiegh/DuelWingGundamBnB.gif

We move onto or perhaps backwards to the first Gundam game I ever played: Gundam Wing Endless Duel!

This is a fairly uninspired combo but it does show a more realistic BnB even if this combo can drag on much longer, the input for it becomes so specific that you're better off not trying. (Something that seems to be the case a lot in this game.) What this combo does show is how nifty the ability to cancel out of your normal attacks into your verniers (Boosters) is! It's somewhat of a universal dash cancel and it makes for some interesting play, both offensive and defensive. And as you can see from this GIF at the beginning, dashing via your verniers is a block dash, blocking high attacks but you can also boost back in a blocking hop or straight up and from there you can either boost one more time up, forward or back or you can hold down and hover to the ground. I really enjoy this game's booster system.


Monday, December 12, 2011

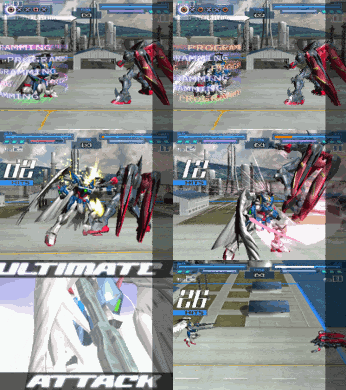
BA3 Wing Gundam Custom: Blaster Link Combo

http://i247.photobucket.com/albums/gg141/Skiegh/Gundam3WingGundamUpgradeBnB.gif

A fairly simple combo for Wing gundam consisting of nothing more than a boost-in kick, a target combo and a somewhat tricky blaster link. The blaster timing is a bit tight, too early and it misses, too late and it whiffs. This combo can only be done on Health-based opponents. (more on that later.)But the real beauty of this GIF is that it gives me a lot to talk about -- hurray for me!

Let's start with the most obvious part of this GIF, the upgrade system. This is a nice mechanic in the game which I found myself quite enjoying. Pressing select will put your gundam into a crouching state, during which time you have to input a random code of inputs which get progressively longer for the first 3 upgrades. Being hit during this state stops the input and your chance to upgrade.

Now what for the upgrades do...
The first upgrade alters your heavy attacks to make them do more hits and have more damage. Along with that, they also add a nice little effect to your sword/fists!
The second upgrade alters your ranged attacks, making them larger and more powerful.
The third upgrade doubles your boost capacity which even makes boosting out of attacks not use up all of your boost energy.
The fourth and each subsequent upgrade restores a small bit of health/armor.

-----------

Now a keen person may be wondering why I had to upgrade to do that combo and no, it's not simply because I wanted to do more damage, it is actually necessary. The reason for it is because the second upgrade not only increases the size and damage of Wing's buster rifle but also increases the hitstun. While normally against Master Gundam that rifle would only make him take normal hitstun, that upgrade made him take a type 2 hitstun where he stumbles 180 degrees off-balance. Why does this only work on Master Gundam and those like him you may wonder now -- that leads me into my next mechanic...

Armor and Health and unsurprisingly two different things and as such, they are in BA3 as well. Some gundam in this game will use health, some armor and some a 50/50 mix of both. The difference of them is as such...

Gundams struck by projectiles who still have armor will have that hitstun reduced by 1, as such most projectiles will actually cause no hitstun and only a flinch. Armored gundams take less damage and when their armor reaches 0, will power down during an invincible animation where the color of their gundam drains away. (As such, it's impossible to kill a gundam who still has armor left because once their armor runs out, they'll fly out of your combo and power down)

Gundams with health suffer from everything at 100% of it's worth.

--------------

Now that all of the mechanics about the GIF are done and since this is my last BA3 GIF out at the moment, let's talk about a few more mechanics in the game which I didn't or won't ever get the chance to show!

Random BA3 mechanics time...

The energy meter in this game is something that is used for a variety of things but for the most part simply projectile attacks and boosting. When you stop using it it will recover after a second or two. 

Boosting in this game provides a lot of movement options. You can boost straight up, side to side, back or towards your opponent. Doing so uses a decent chunk of your energy meter but you can also hold down your boost button to hover and while it won't provide the speed that boosting with double taps does, it only drains your bar slowly. 

If you have even 1 energy left in your bar, you can press boost while in hit-stun to boost away from the opponent and out of their combo. However, it reduces your energy to zero for a few seconds before it will recover. This can also be baited out by a high-level player. Something else of note is that if you achieve upgrade 3, boosting out of hit-stun only uses half of the bar -- really, if someone reaches upgrade 3 during a match, they win unless you also get to 3 because they will fly out of all of your combos and still have the energy to maneuver around. Still, it's a fun high flying match!
BA3 Master Gundam: Darkness Bomb Combo

http://i247.photobucket.com/albums/gg141/Skiegh/Gundam3MasterGundamBnB.gif

A bizarre little combo for Master Gundan utilizing one of the best zoning abilities in the game: Darkness Bomb. It's a unique special which lingers at a location for quite a surprising amount of time, allowing all sorts of bizarre combos should you manage to get it off, but it is very slow to start, so it's rare that you will. 

Random BA3 Mechanics time!
This is a quick one but I actually really liked it. In BA3, all gundams can both run and dash-in which I found really, really nice. You dash by pressing forward twice and run by pressing forward twice with a small gap between them. I would call that an overlap of controls and faulty but it honestly works pretty well.

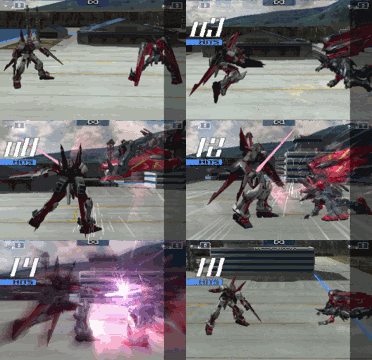
BA3 M1 Astray: The Bread and the Butter!

http://i247.photobucket.com/albums/gg141/Skiegh/Gundam3M1AstrayBnB.gif

M1 Astray BnB which you will be using almost every time you catch your opponent cleanly. This is my gundam of choice in BA3 or at least, the one I'm most comfortable with but I honestly didn't play BA3 for too long. Sadly, this game mostly Gundam Seed characters and they're... blah. (Never watched it)

This combo showcases really only one thing but I'm going to talk about a few things because you're apparently interested enough to read this and hear my thoughts. First would of course be this game's weird but not entirely unreasonable way of linking together chains of target combos into a much longer combo. Which would of course be that when a Gundam in this game is given the chance to "recover" (it's really just an animation, you have no say) when flung through the air, they will catch themselves on the ground on their knees and quickly climb to their feet. However, during that initial climb, they're still vulnerable to attacks and unable to defend themselves. As such, you can utilize quick dashes or boosts to follow-up. The timing is somewhat tight but it's actually a really satisfying way to extend combos -- I enjoyed myself and it makes it look pretty fast and impressive.

You can also see the combo restriction mechanic working properly in this GIF! See if you can spot it (it's obviously at the end...)

Now for random BA3 mechanics discussion which has little relation to this GIF! An odd thing I found in this game is unlike in most fighters where each attack is assigned a number of frames that it will put the opponent under when hit (Hit stun), this game doesn't seem to do that. Rather, BA3 has universal forms of hitstun that it assigns to it's different attacks. These can easily be read by the animations the gundam gives off which is actually quite nice even if somewhat uninspired since it does give each attack in the game less variety. During the mega special, you can see two forms of hitstun, the normal one and the long one where the gundam spirals itself around 180 degrees because it got hit so hard it went off balance. There's a few others but those two are the most important.

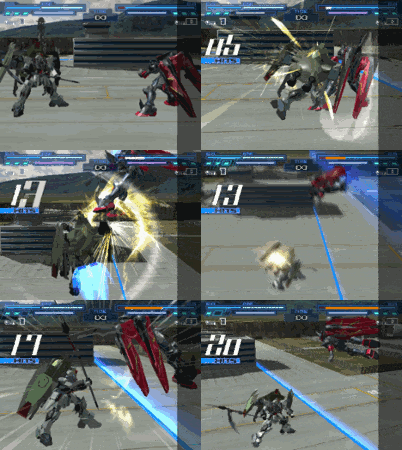
BA3 Forbidden Gundam: Wall combo

http://i247.photobucket.com/albums/gg141/Skiegh/Gundam3SomethingGundamWallBnB.gif
(Yes, I cut out of the character portrait scenes during mega specials which is why some GIFs appear to jump.)

Forbidden Gundam (or as I like to refer to him as: Deathscythe wanna-be) combo which while I label as a wall combo, 90% of it can be done mid-screen as a typical BnB. 

The main aspect of this GIF that I would like to point out is the clever little abuse I pulled at the end of the GIF. Like in a lot of games, BA3 has combo restriction mechanics implemented in the game. One of them results in the opponent twirling about and flying really far and fast away from his/her opponent. However, when you realize how and when this will happen during your combo, you can do what I did here and link a small tap (the kick) and utilize that large knockback as more of a launcher so you can chain another attack, in this case, another mega special which as you can see deals an absurd amount of damage. (About an 80% combo)